

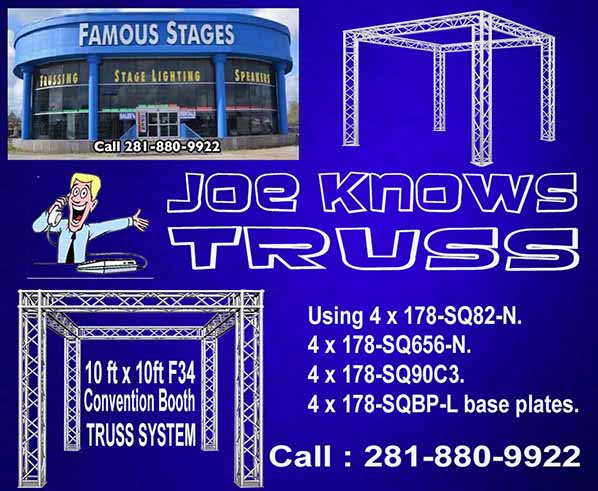
Constructing a Dynamic Global Truss F34 10' X 10' Display Booth Truss System: A Step-by-Step Guide
Constructing a Dynamic Global Truss F34 10' x 10' Display Booth Truss System can be an engaging project that requires attention to detail and some basic understanding of structural assembly. Here's a step-by-step guide to help you build your display booth:
Step 1: Preparation
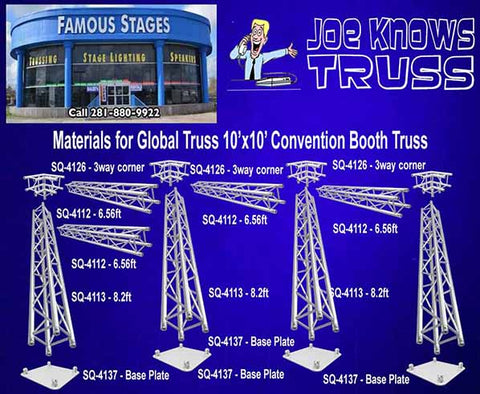
- Materials Needed: Ensure you have all the necessary parts of the Global Truss F34 system, including truss sections, base plates, conical connectors, safety pins, and a hammer or mallet for securing the connections.
- Safety Gear: Wear appropriate safety gear, including gloves and eye protection.
- Space: Clear a large, flat area for assembly.
Step 2: Layout
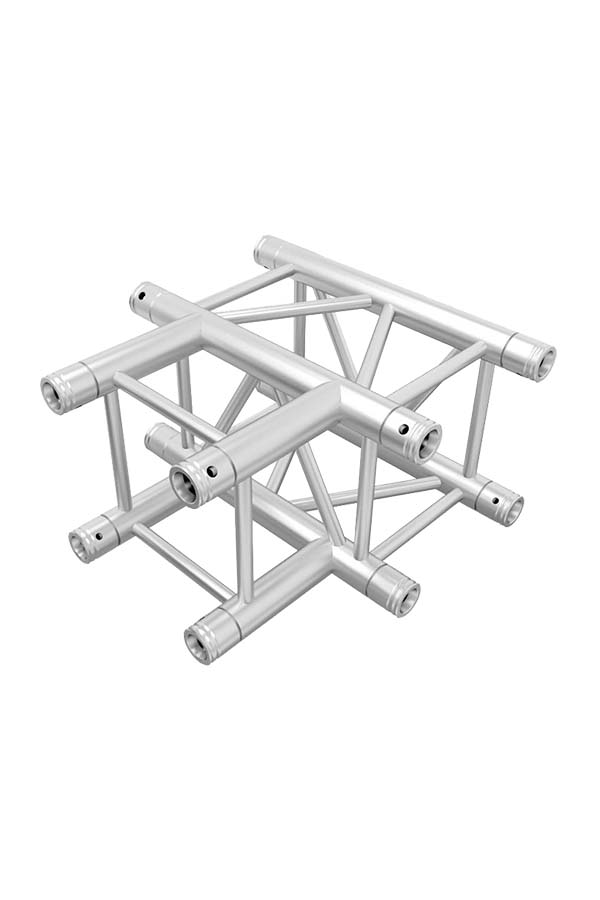
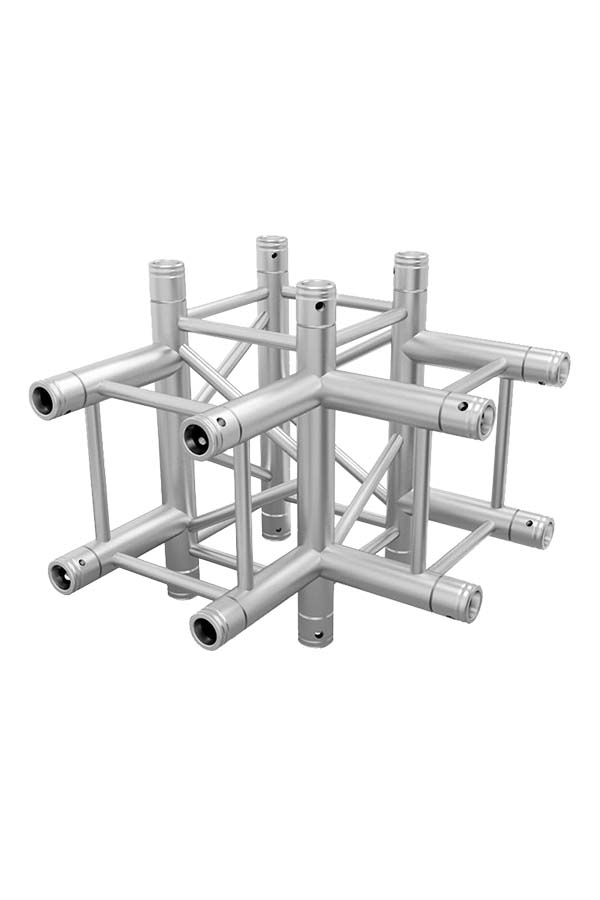
- Lay out the truss pieces on the ground in the shape of your 10' x 10' booth. This typically involves four corner pieces, four straight pieces for the sides, and cross-pieces for added stability and support.
Step 3: Assemble Base
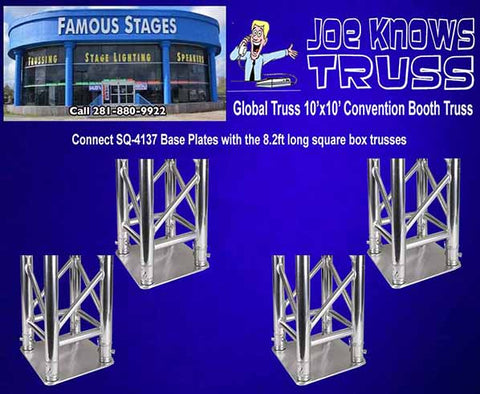
- Start by attaching the base plates to the bottom of each corner piece. Ensure the base plates are securely fastened to provide a stable foundation.
- Erect the corner pieces on their base plates in their approximate locations.
Step 4: Connect Trusses
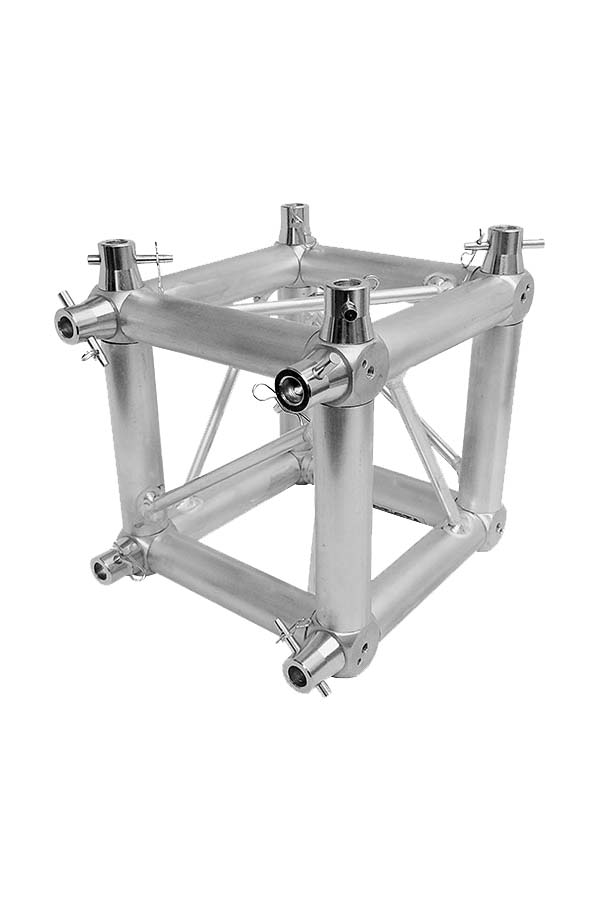
- Begin connecting the straight truss sections to the corner pieces. The F34 system uses conical connectors that fit into the ends of the truss sections. Insert the connectors into one end, align the next truss section, and gently tap the pieces together with a mallet.
- Secure each connection with the provided safety pins to ensure the structure is locked in place.

Step 5: Add Cross Supports
- If your design includes cross supports for added stability or to hang displays, attach these now. Similar to the straight sections, use the conical connectors and safety pins to secure the cross-pieces in place.
Step 6: Raise Structure
- With the help of at least one other person, carefully lift the structure into an upright position. Ensure all base plates are flat on the ground and the structure is stable.
Step 7: Final Adjustments
- Walk around the structure to ensure all connections are secure and the booth is square and stable. Make any necessary adjustments.
- Attach any additional elements such as lighting, banners, or displays to the truss system, following the manufacturer's recommendations for weight limits and securing methods.
Step 8: Safety Check
- Perform a final safety check to ensure everything is secure. Check all connections, ensure the structure is stable, and confirm that all displays are safely attached.
Tips:
- Always refer to the manufacturer's instructions for specific details regarding assembly and safety precautions.
- If you're unfamiliar with truss systems or concerned about safety, consider hiring a professional to assist with the assembly.
- Regular maintenance checks are important to ensure the long-term stability and safety of your truss system.
This guide provides a general overview, and it's crucial to adapt the steps as needed based on the specific design and components of your Global Truss F34 system. Stay safe and enjoy your new display booth!


Add a comment