


Constructing a Solid Foundation: A Guide to Assembling Global Truss Ground Support Systems - Multi-Tower Basement Structure
Introduction:
Welcome to FamousStages.com, your premier destination for top-quality stage production equipment, including Global Truss systems. In this guide, we'll walk you through the process of erecting a sturdy ground support system using Global Truss components. Whether you're preparing for a concert, corporate event, or any other production, mastering the assembly of the ground support structure is crucial for building a reliable stage trussing setup. Let's dive into the step-by-step process to ensure your multi-tower basement structure stands strong and secure.
Step 1: Preparing Your Equipment
Before beginning assembly, ensure you have all the necessary components from your Global Truss ground support system kit. This includes:
a. Four sets of Global Truss GT1804 - GROUND-SUPPORT-SYSTEM-18.04-ft
One set includes:
- 1 Ton Manual Chain Hoist (30 ft) or Electric Chain Hoist
- Ground Support Base (44BS-1)
- Four Outriggers with Stabilizer Arms (GT-492145-1)
- Sleeve Block (GT-BLOCK)
- Top for Chain Motor (GT-TOP/CM)
- Two 5/8-inch Steel Shackles
- 9 ft Round Sling with Aircraft Cable Inside (WIREROPE9)
- Left and Right 88mm Hinges for Ground Support System (HINGE/M12-L/88MM, HINGE/M12-R/88MM)
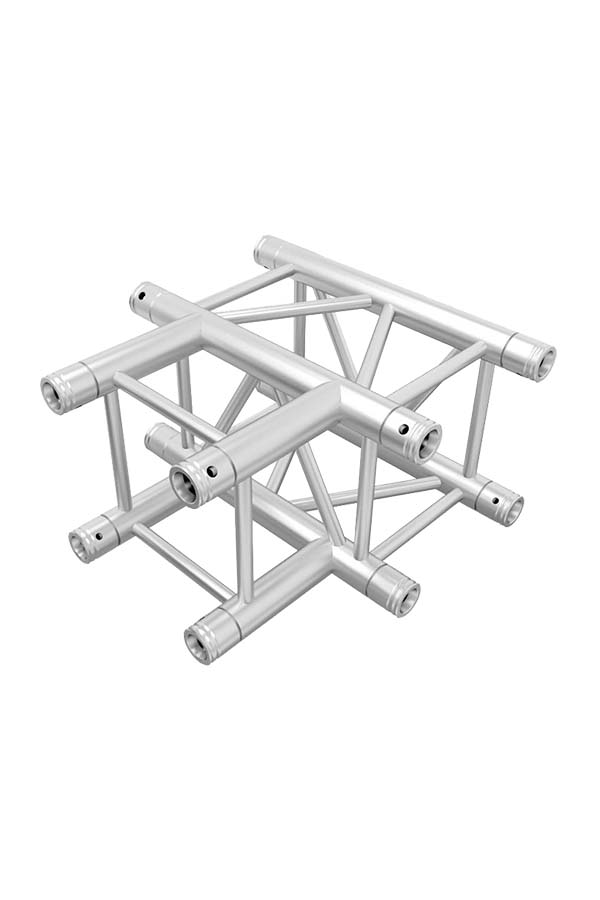
- 1 piece Global Truss F34 12-inch Aluminum Square Box Truss 1.64 ft. long
- 2 pieces Global Truss F34 12-inch Aluminum Square Box Truss 8.2 ft. long
This set will serve as base and vertical post of the ground support system tower.
b. Four sets of F34 square trusses for the horizontal trusses
One set includes:
- 1 piece Global Truss F34 12-inch Aluminum Square Box Truss 1.64 ft. long
- 2 pieces Global Truss F34 12-inch Aluminum Square Box Truss 9.2 ft. long
Step 2: Setting Up the Ground Support Structure
Begin by laying out the four ground support bases on the ground on a square-shaped area which is approximately 20’ x 20’. Note that the base casters are for transporting the base only. The wheels are not designed for movement under load or to carry the load of the tower. You use and adjust the Screw Jack to stabilize firmly the ground support structure.

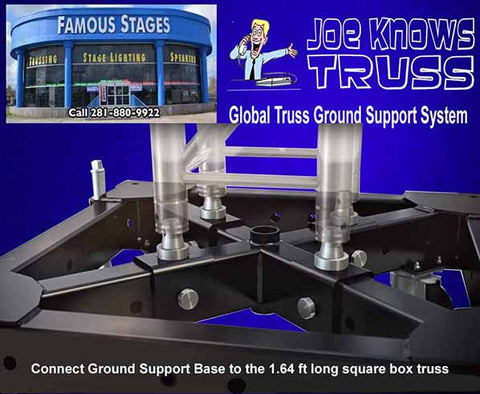
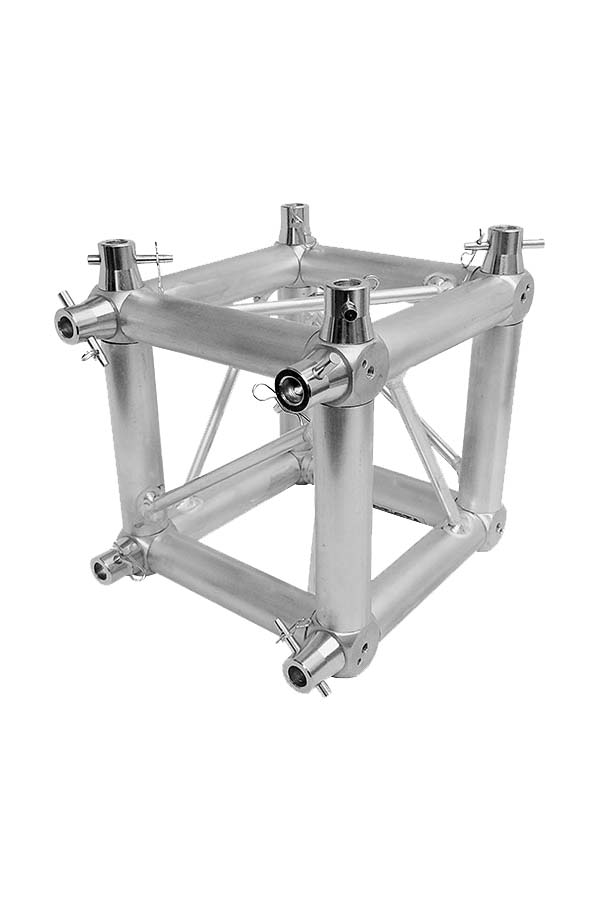
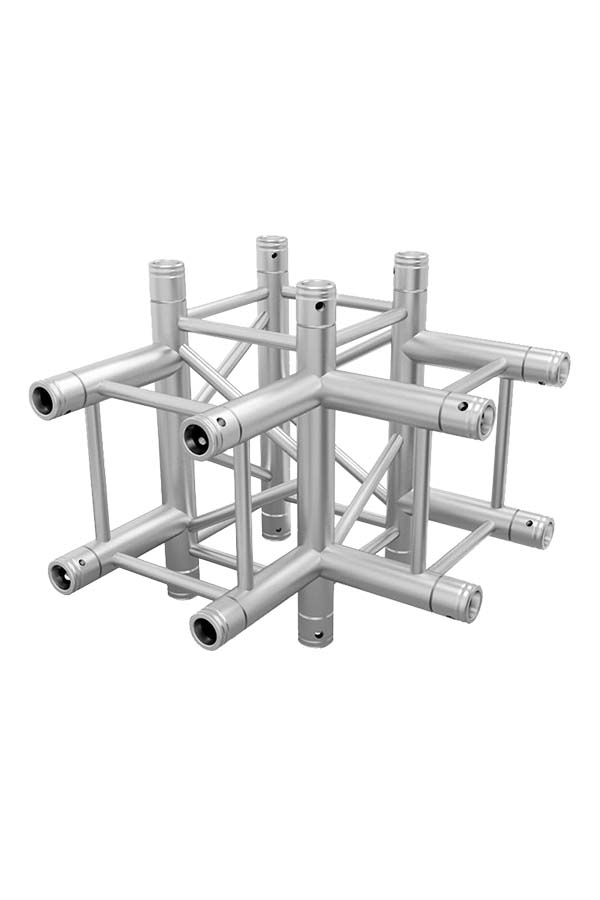
Connect the Ground Support Base (44BS-1) to the 1.64 ft long square box truss. Once connected, position the Sleeve Block (GT-BLOCK) on top of the Ground Support base with the 1.64 ft. long square box truss inside the Sleeve Block, emphasizing its importance in supporting the horizontal and vertical trusses.

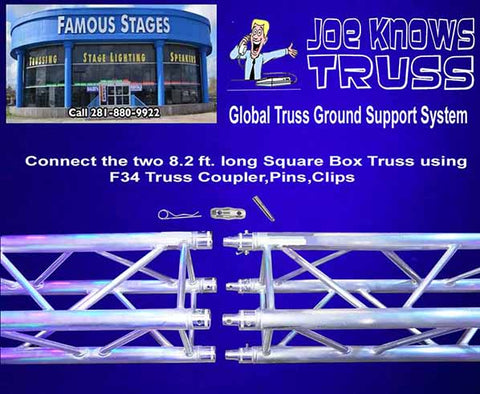
Next, connect the two 8.2 ft square box trusses using truss couplers, pins and clips, then connect these trusses to the 1.64 ft long square box truss using the Left and Right 88mm Hinges (HINGE/M12-L/88MM, HINGE/M12-R/88MM). Ensure the connections are secure, as this forms the foundation for the vertical posts/tower. Also, connect the Top for Chain Motor (GT-TOP/CM) on one end of the vertical truss which will be the topmost part of the vertical post/tower.

Step 3: Erecting the Vertical Trusses
With the Ground Support Base, 1.64 ft long square truss and Sleeve Block in place, proceed to erect the vertical trusses of each ground support system set. Position them securely on top of the ground support bases, ensuring alignment and stability.

Step 4: Attaching Horizontal Trusses
After setting up the ground support structure, it's time to incorporate the horizontal trusses, crucial for structure’s stability and functionality. Begin by securely attaching the two 9.02 ft long square box trusses and the 1.64 ft long square box truss together, forming a robust horizontal assembly. Ensure a tight connection using reliable hardware, highlighting the durability of Global Truss stage trussing solutions.
Connect the horizontal trusses in between the Sleeve Blocks (GT-BLOCK) forming a square-shaped horizontal truss assembly.

Utilize the manual Chain Hoist (CHAIN HOIST30) to raise the connected horizontal trusses towards the top of the vertical posts, underscoring the versatility of Global Truss systems in stage truss construction. You can also use an electric chain hoist in place of the manual one to raise the structure easier.
Step 5: Adding Stabilization
Install the Outriggers with Stabilizer Arms (GT-492145-1) to each Ground Support Base, providing additional stability and support to the structure. Adjust the stabilizer arms as needed to ensure proper balance and alignment.
Step 6: Final Adjustments and Safety Checks
Before proceeding further, conduct thorough safety checks to ensure the stability and integrity of the ground support structure. Inspect all connections, hardware, and rigging for any signs of weakness or instability.
Make any necessary adjustments or reinforcements to address potential hazards and ensure the structure is safe for use.
Conclusion:
With the ground support structure assembled, you've laid a solid foundation for your stage setup using Global Truss components. In our next blog, we'll explore the assembly of stage components within this structure, creating a complete stage platform for your event needs. Stay tuned to FamousStages.com for more expert guidance on stage production equipment and techniques.


Add a comment